Showing posts with label playtest. Show all posts

Thursday, 16 April 2020

Playtesters needed

(Boy, sure wish we’d got this far before lockdown!)

Ok. Looking for play testers for the new Raid and Battle scenarios in the Dux Britanniarum Compendium.

If you are reasonably experienced with Dux, and have the time and patience to run through a few scenarios, solo or (in some suitably socially distanced way) with a friend, over the next week or two and send me feedback, please drop me a mail at mike@altrion.org and let me know. 

Edit: OK - that’s enough for now! 

Huge thanks to the folks who replied: playtest packs will be out today.

I will be looking for a few proofreaders and sanity checkers of the full document when it’s finally done - watch this space. 

Monday, 30 December 2019

Battle Report - 30-Dec-2019 - Dux Britanniarum Battles

Ok. I think we have a winner here. But boy, my brain hurts. That required a lot of thinking, even just as the umpire.

British (Carl) defending a river ford (again) against the Saxons commanded by Myk and Andrew, with AndyH co-refereeing.

Pre-battle phase. There was prayer, speechifying and drinking. Again there were ones rolled, and both Bibamus and Portentious Signs cards in the deck, and the Saxons had FM 9 and the British 5.  
The Saxons have crossed the river to head off the British reinforcements, while facing off against the British  companipulares on the ford.
The Saxons, however, have fallen prey to the Evils Of Drink, and Carl uses a Bibamus card to force one of the two groups of Saxon hearthguard to go off prematurely, as it were...
The results are painfully inevitable - one uncommanded group of elite against 12 men plus a Lord and champion. Amphora misplaced, and off they go, with a -3 FM hit as well.  
Over on the British left, a knock-em-down-and-drag-em-out fight between two Groups of Saxon warriors and a mixed group of British warriors and levy causes the levy and one of the Saxon groups to leave the field. 
Perhaps unwisely, the remaining Saxons chose to ignore the levy and go hit the other British shieldwall in the rear through a ruined archway.
Cue a lot of very careful rule-reading in the gaslit end of the rules to make sure we got this right, compounded by several cards being played including a Step Forth. It didn't, sadly, go well for the Saxons. FM down to 1. From 9, remember!
The remaining Saxon formation (Elites + Warriors) psych themselves up to charge the British levy by the archway. 
What\s really galling from a Saxon PoV is, they won the fight, with one Saxon unit well and truly routed and the other on excess shock... except they took a wound on their Noble. -1 FM. Game over.
All in all, another excellent game. AndyH, who as the saying goes doesn't have a dog in this fight (as I wrote the core of the scenario) thinks these work as a way of resolving battles that's an improvement over the pitched battle in the original rules, so we're going to test it a bit more, and then throw it out to the next layer of testers.

Saturday, 28 December 2019

Battle Report - 28 Dec 2019 - Dux Britanniarum Battles

Whew.

That was fun and very satisfying.

AndyH has been here for the afternoon and early evening so we can figure out the new battles ideas for the Compendium. I've had the idea for how to do this kicking around since fairly soon after the idea for the Compendium was mooted, but it's been held off on playtesting, partly because I wasn't sure and partly because I wanted to get the raids tested. Ran my draft outline past Andy earlier in the week, and he basically thinks it's a goer, so we decided to give it a shot.

First battle - for a settlement.

The Britons are defending the villa. Pre-game phases results in force morale boosts for both of us, and me as the Saxons getting an extra Fate card in my hand, but otherwise little effect. 
The Saxons start to advance, aiming to get to the villa before word reaches the rest of the British forces. 
The Saxons amass, psyching themselves up to charge the British hearthguard. Unfortunately, despite having  six Fate cards to play with, I can't draw a Carpe Diem for love nor money, and perhaps unwisely, I hang back.
Unwisely, you ask?
See that unit Andy is pointing at? That's warrior cavalry....
See that empty space in front of the cavalry, and the bloody smear on the hillside? that WAS two groups of British warriors. Admittedly, the cavalry's on excess shock and not going anywhere else for a turn or two, but I have lost two groups with thoroughly mislaid amphorae, and a chunk of force morale.
Ow. 
At last. I get to wade in with this delightful fistful of goodness. 
Crunch. Andy's elites, the front rank, do not survive two rounds of combat, and leave the field....
...but not before he does this to me. Which leaves my big unit of mixed hearthguard and warriors in NO state to deal with the big block of levy you can see top right... my big unit has taken far too much shock to cope..
Game over for the Saxons, sadly. In go the levy, and it's amphora missing, byebye force morale.

Ok. Battle two.  The British attempt to retake a captured province by bringing the Saxons to battle over a river crossing. (Believe me, if you look up Nennius' '12 battles of Arthur', battles for river crossings were common as muck! 7 out of 12, in fact.) We dug out my unfinished river boards for this one.

Pre battle phase. Pure comedy gold, this.

Andy (the attacking British): "I shall make a rousing speech." Rolls a 1. -2 FM, -1 Fate card.
Mike: "Hah. I shall ply my men with mead!" Rolls a 1. +2 FM, 2 Bibabums cards, -1 Fate card
Andy: "My priests will pray to God for success." Rolls a 3. No effect.
Mike: "I shall make a rousing speech too." Rolls a 1. -2 FM, -1 Fate card
Andy: "Ale for my brave warriors...." Rolls a 1. +2 FM, 2 Bibamus cards, -1 Fate card.
Mike: "Oh Mighty Odin, All-Father...!". Rolls a 1. -2 FM. 2 Portentious Signs cards.

Andy: "I think we've done enough damage between us. On with the battle."

The deck is loaded with Bibamus and Portentious Signs cards, Andy has Force Morale 9 and I have Force Morale 5.
Oh, and we both have a maximum of THREE Fate cards each!

Let's roll for deployment. Andy gets the maximum possible initial moves for his force, I get the minimum possible garrison force for the river crossing.

OK. Guess we needed to test the extremes of setup, right?
The Saxons square up across the river from the advancing British. Meanwhile in the distance, the Saxon relief force of warriors is massing trying to force a crossing.
Andy decides the time is right, and charges with  elites and warriors to drive the Saxons back.

Ok. Maybe not.
1" short.

So the Saxons charge in.
Somewhere during the two combat rounds of back and forth, I lose any remaining ability to roll dice.
The Saxons fall back with excess shock.
The British are about to follow up, and in the ensuing combat both sides will lose a unit to missing Amphora. Andy,. having 9 Force Morale, can afford this. I however, cannot afford to lose the THREE points off my 5.

So we're now facing each other, one unit of Elites on each side. 
Meanwhile, further up across the river, the Saxon warriors attempt to force a crossing against 2/3 their number of Levy in shieldwall. With a reasonable chance - I mean, face it, it's maybe 5" away, and they're rolling 3d6 -2 per dice for the river.

1,1,2.
Total move? 0"

On the other hand, maybe we could stay on this bank where its dry and make faces at each other some more.

Back at the ford, the Saxon elite reckon they should have a reasonable chance - the British they're facing are on even Shock and kills, so one kill will give them excess, while they've still got 5 figures and a scattering of Shock. Should be easy, right?

Wrong!!!

Andy takes 1 shock, 1 kill from my abysmal 3 hits. My dice seem to have hits and damage confused, and my Elites take insane amounts of shock and leave, Amphora thoroughly busted.

Force Morale 0. Game over and not a good week for the Saxons.  
Ok: so? Conclusions.

Did it feel like a battle? Hell yes. In both cases, we wound up manoeuvring into battle lines and facing off until our troops were psyched up enough to fight. It seems to fall into a style of combat that feels like it fits the period and the kind of battle that was chronicled.

Is it balanced? We tweaked a couple of setup rules, but then with hindsight they were dumb and I should have noticed them when I wrote them. Even in the face of extremes of setup rolls, crap combat dice and ridiculous pre-battle rolls (seriously, FIVE ones out of 6????) neither battle was a foregone conclusion. With a bit more guts and less waiting for cards on my part the first battle would have gone very differently,. and if I could roll dice at all for the last two turns of the second I'd potentially have or at least made Andy sweat.  So yes.

Was it fun? (the acid test). Oh my goodness, yes. So much so we're testing it again on Monday!

Tuesday, 24 December 2019

Battle Report - 23 Dec 2019 - "The Tax Collector", Dux Britanniarum

Playtesting with AndyM and a late-arriving AndyH...

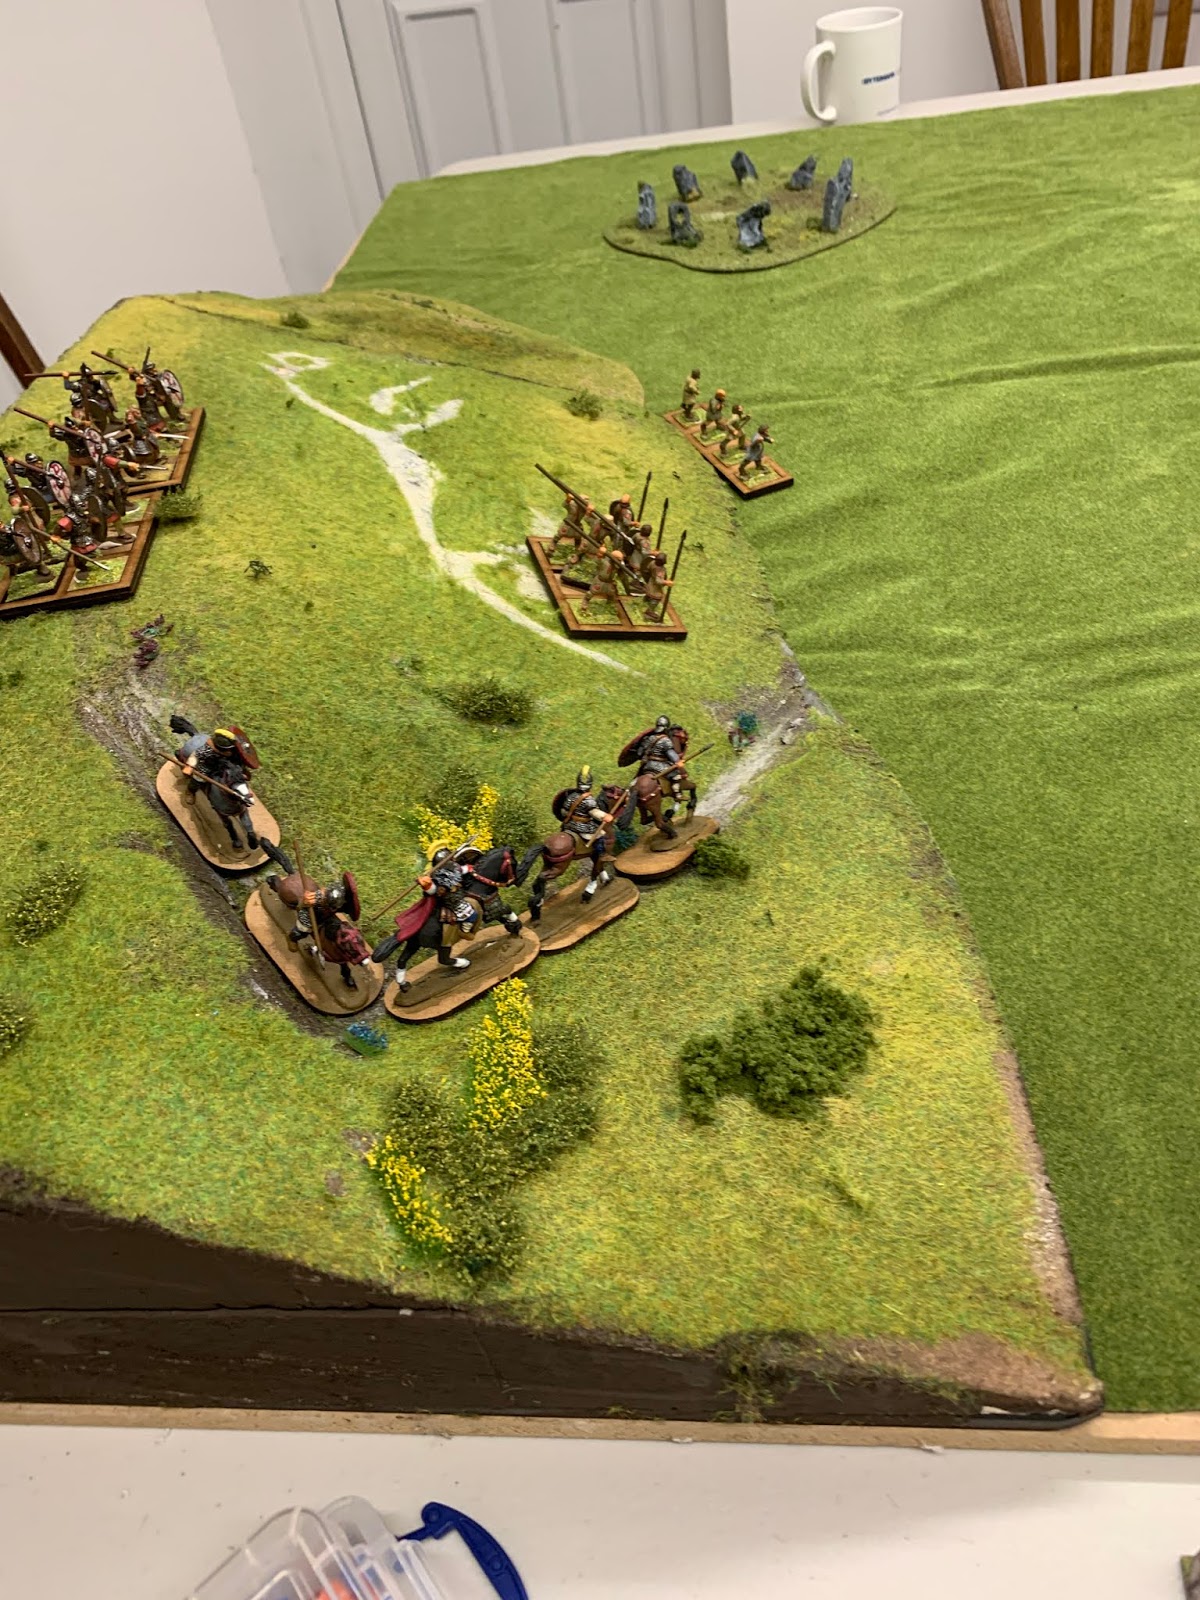
The British warrior cavalry wind their way down the hillside to come rescue the tax gatherer...
...who has been yelled at to get the heck out of the village while his levy escort rank up in Shieldwall to hold off the advancing Saxon warriors. I actually blew a Step Forth to make sure the levy were in Shieldwall before the warriors could hit them.
...except that Mr Miller had a Strong Arm and some very good dice (and I really don't), resulting in one Group being wiped out and the other mislaying its Amphora. Force morale down to 4, given that the Noble took a wound as well...
And then it just got worse. The Warrior cavalry made it down the hill, but due to a bit of a logjam at the bottom, had to charge the approaching Saxon Elites over the corner of the temple ruin, which was -1/dice terrain...
First dice 1(+2 -1) . Second dice 2(+2 -1). Third dice (now clear of the ruin) 3(+2).

Well short.

Oh dear.  
A turn through the deck later. The Saxon hearthguard have charged the cavalry that are hanging around waiting for it, and AndyM has a Carpe Diem (and I DON'T have an Evade) so they have no escape, and they don't get double dice or Shock. It goes about as well as you'd imagine - Amphora lost, Force Morale down to 2.

"Oh, hi, AndyH. I've been running the British for you while you got here. Erm... your force Morale is 2, and you're down to a mixed unit of hearthguard and warriors and one group of Levy."

I'm probably off his Christmas list.
The British hearthguard/warrior unit has fallen back under the weight of yet another Strong Arm and multi-card attack - it's actually halfway down the hill around about the belly of the horse, but it won't stay on the slope :D
Meanwhile the remaining levy prepare to sell their lives dearly in an attempt to protect the tax gatherer's wagon.

(Note: had this been a campaign game, we as the British would have called it a day by now!)
And the levy manage to last a whole round of combat. Unsurprisingly. Amphora gone, Force Morale down to 1....
Redesigning the initial setup, so we don't have so many 'X in a village' variants... There's nothing fundamentally wrong with scenario balance, but I don't think any scenario would survive in the face of such awful dice rolling!

Tuesday, 17 December 2019

Battle Report - 16 Dec 2019 - "The Deer Hunt" Dux Britanniarum

We're on pretty much round 3 of play testing now - last one before things go out to the playtesters. Andy and I are going to have a go at the whole problem of battles on the Saturday after Xmas, but apart from that I think we've played every new raid scenario at least twice except two, and I'll work those in over Xmas too.

Last night was the deer hunt, and boy was THAT a doozy - it contained a bit of play for which I'm very thankful to Derek Hodge's compilation of Rich's answers to rule questions (which will be in the Compendium!). I think this one works really well. The key fun gotcha is that the startup instructions have a totally chaotic 'every unit and leader is chasing after the stag independently' thing where everything arrives semi-randomly, so units may be out of command or not grouped together sensibly. It was, I am assured by Myk (now turning into one of my regular playtesters to the extent he's borrowed the rules over Xmas!) and Colin, a great game...

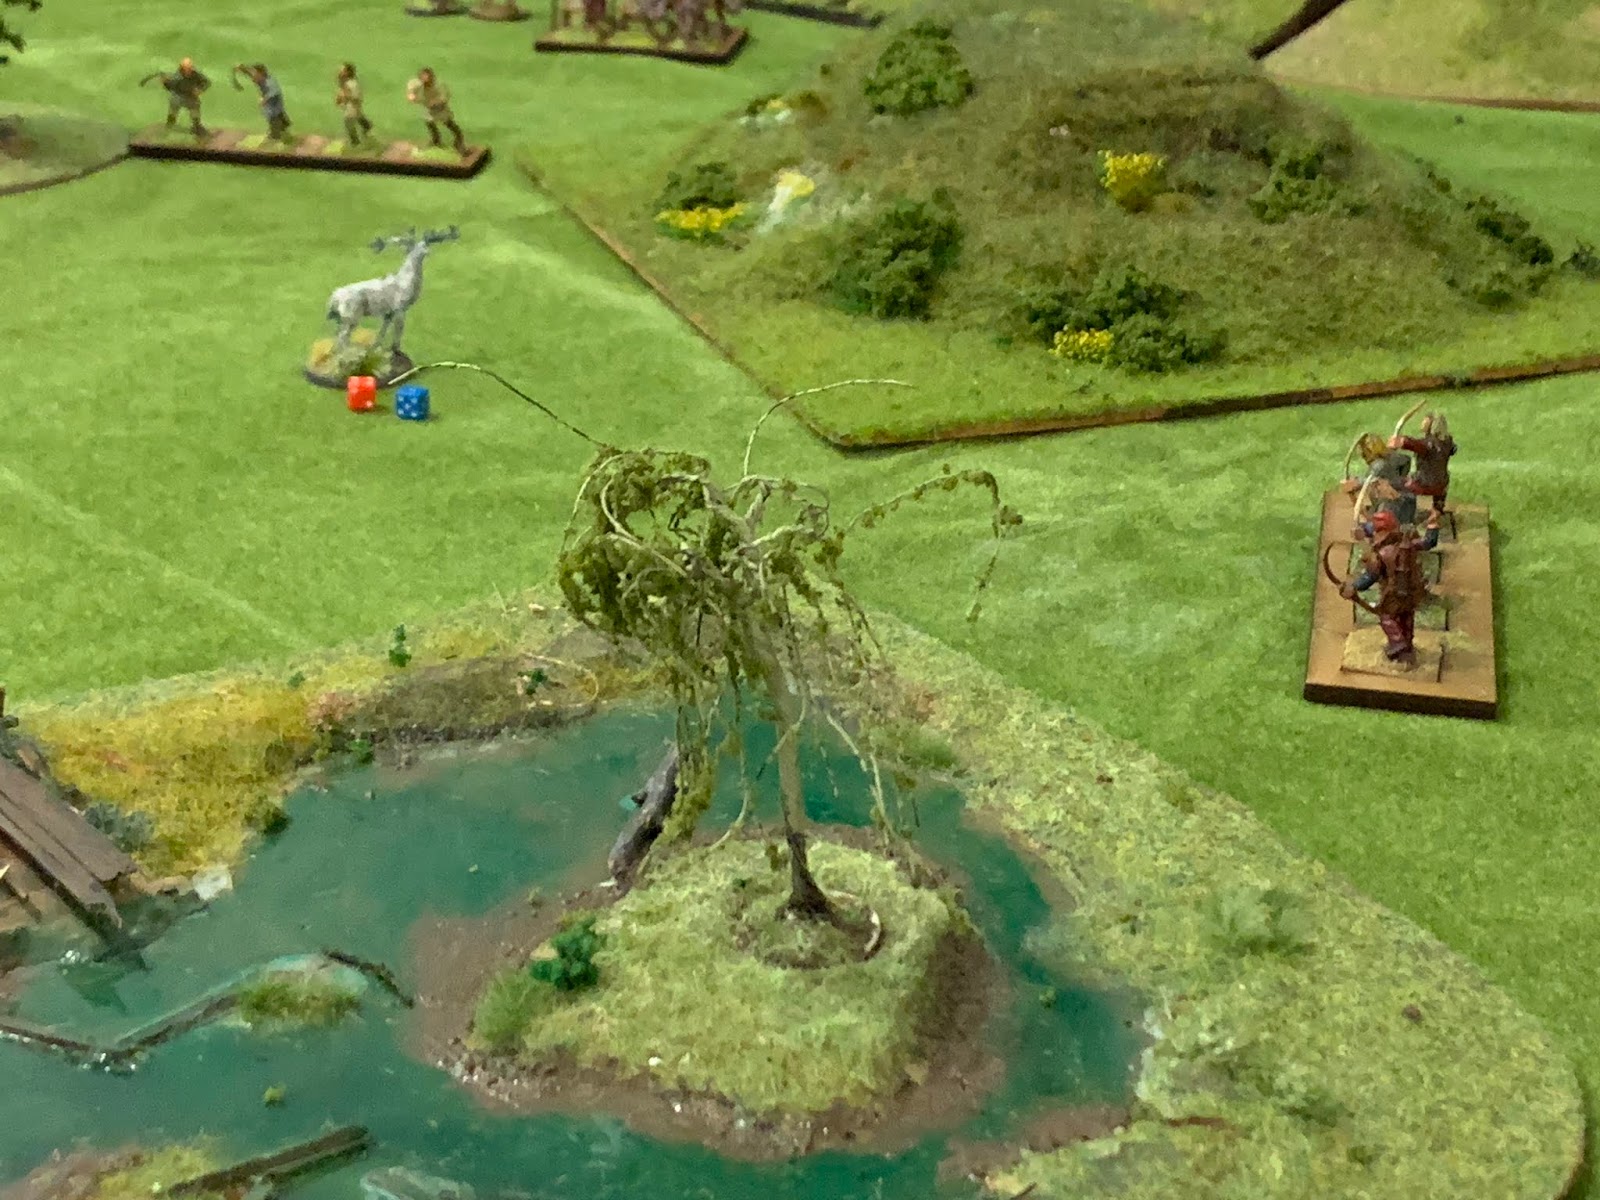
The majestic stag (a very nice Warbases mini) poses atop a rocky outcrop before starting his run for safety. In the background a mix of British elites and levy try to work out what to do... 
Having escaped from a group of Saxon hearthguard, trailing blood, the stag runs into both factions' groups of missile troops, as well as a single unit of warriors with the Lord and his champion on both sides. Interesting random deployment resulting in two identical small forces in the same area :D
Ok. Pay attention, because this got... amusing.

British mounted warriors (with their noble) and Saxon elite with a level 2 noble), although initially the Saxons were about 12" back from this position.

Colin (British) gets the card for his noble. He's obviously going to charge, being cavalry with no Shock - he gets double dice and then double Shock if he does. Myk plays a Step Forth to interrupt, followed by a Carpe Diem and a Bounding Move to charge the cavalry, instead.

I point out to Colin that being cavalry, he has an ability to Evade being charged.

Myk (who is on the ball!) correctly points out that according to the writing on the Carpe Diem card, Colin can't Evade. Specifically, he can't use the Evade Ability of cavalry. He can however, use the Evade card he has in his hand (thanks, Derek!). So he does. Fortunately for the British cavalry, he rolls low enough to stay on the table, while still getting out of reach of the Saxons.

End of Myk's activation, and the British get their turn back, And obviously enough, charge!

As you were, I guess, apart from several cards being used up!
The first round of combat between the cavalry and the Saxon hearthguard was a draw, due to some very lucky dice rolling on Myk's part as the Saxons. The second round? Not so much, as the British cavalry aren't getting the benefit of doubled dice and Shock - you really do have to get in and get in hard, because cavalry are no good in continuous fights. They fall back on excess shock (and were very lucky not to lose their amphora).

Meanwhile, over by the stag, it dies, full of arrows. The Saxon warriors advance to cover it, the British warriors charge them, and manage to just win a very bloody fight.

Meanwhile the British on the hill (a mix of Levy and Elite) are about to charge the Saxon Elite, with the Saxon Warriors (with the wolf banner) are coming to grab the stag.
The Dead Marshes, bottom left - as good a place to put casualties as any, I guess :D
Just out of sight, the mixed British group has managed to make the Saxon Elite fall back through the group of Warriors.
... and a bunch of uncommanded Saxon Levy rather fancy their chances against the rather shocked and wounded Elite - they're literally hanging on by the skin of their teeth in both groups.
We got through about two more turns from there - the British warriors managed to grab the stag while everyone else was distracted in a whole mess of grubby little combats between the wood and the marsh in the middle, and hightailed it past the barrow with a group of Saxons in hot pursuit.

It was (had we had time) probably going to come down to order of activation and who had the better hand and better dice rolls, but it being 10:30 we had to start packing up.

A brilliant game - one of those where umpiring is a joy (even if I say so as the scenario writer) and the players (thanks Colin and Myk!) had fun too.

Tuesday, 3 December 2019

Battle Report - 2-Dec-2019 - Dux Britanniarum "The Boar Hunt"

More playtesting - most scenarios are on their second round of testing for flat out brokenness and unbalance now, and seem to be going well.

[There is a question for folks who think they have their head round Dux combat at the end of this post - comments appreciated.]

For giggles (and because Carl had just finished painting them) I let Carl and Myk take a Gwŷr y Gogled force from Raiders, which basically meant his normal 6 elites (or warriors) could be replaced with 4 equivalent Shock Cavalry. Or Mobile Threshing Machines, as we prefer to call them.

If you've never done this before, my advice as a Saxon would be not to face them with a force you're at all fond of until you've figured out some tactics ;D Things to be aware of:
  • Move 3 x (d6 + 2)
  • Double all dice if charging into combat - no that is not a misprint: and Rich has clarified that as figure out all your dice bonuses etc, and double the lot
  • Double all Shock handed out if charging into combat.
Now sure, there are only four, plus (one assumes) your Lord, plus his Champion. But that alone is nine dice before adds, and the adds go on before the doubling, so if (say) you have a dice for being better than the warriors your hitting, and a couple of dragon-suited cards (including the Hero of the Age you get dealt to start with as a Briton which makes your Lord roll 6 dice in combat) you're potentially rolling 2 x 14 or 15 dice. And if you're lucky enough to have played Artorius, you're hitting on 3s.

Ouch.

AndyM and Rob's warriors were testament to the fact that that hurts.

However, they do have certain disadvantages:
  • They're one Group. So all defensive attacks go on them.
  • No shieldwall (obviously)
  • They can't charge if they have any Shock on them

  • They can evade if charged, but it costs them a point of Shock 
  • They risk becoming unhorsed (essentially a 50% chance of not) in difficult (-3/dice) terrain

  • If you face them down with two groups of undamaged Elites, you'll be throwing 17 dice (with Lord and Champion). Statistically (i.e. if you're not AndyM) that should mean around 8 hits, one kill and 2-3 shock. You'll be taking about 10 hits per group worst case if they charge you, so 1-2 kills, and 3-4 shock per group. You will lose, but with average dice rolls all you'll do is fall back. And they won't be able to follow up next round with any shock on them, remember.

    Interested in comments from folks who've used the Gwŷr y Gogled force more than I have as to how to deal with those cavalry.  As far as I can see one way to deal with then would actually appear to be to dance around with your Harassing troops and try and keep Shock on them as much as possible...


    So what happened last night, I hear you ask.... well....
    Ready for battle. The boar is off in the woods to the right, and the Saxons are hearing the echo of hoofbeats....
    Warriors vs Warriors. A win to the Saxons after a couple of rounds, although the Saxons have just noticed the looming wall of horseflesh and are looking worried... 
    The Shock cavalry decide the Saxons aren;'t worth the effort, and start on a long arc round the stone circle to come round behind the rest of the Saxons....

    Meanwhile, the boar is unconcernedly rootling up truffles in the far corner of the wood, since no-one seems to care about him. As a playtest of the Boar Hunt scenario... mmm, not so much :D
    Some while later (I was having too much fun to take photos) one lot of Saxon levy have been chased off, one lot of Saxon warriors likewise, and here come the Companion cavalry, into the Saxon hearthguard,  'cause... frankly, we wanted to see what would happen.

    What happened is Andy and Rod rolled dreadfully, and the Saxon elites retreated. :D
    As an aside, if you've got this far, one other thing I discovered, as I've been trying very hard to get the rules scrupulously right (it's very easy to fall into bad habits, like, for example, AndyH and I getting combat result calculation wrong for several games - he says that's how Rich taught us, me, I dunno!)

    A very useful tactic as Britons, given you only have one unit of Elites, is to rank up Elites in the front of a shieldwall with Warriors in the rear (or ditto with Warriors and Levy). If you do this, the movement restriction is based on the front rank AND the front rank ONLY takes casualties in melée. This is both good and bad - bad in that it concentrates the damage your opponent does on just the front rank, but good in that
    1. it makes you pretty much immune to Goad
    2. the first kill gets soaked by the shieldwall
    3. you're harder to damage (because you're the better troops of your formation).
    4. your opponent counts as facing the front rank for determining if he gets extra dice
    The slight awkwardness is what happens if the front rank has to fall back. I got a bit confused about this at Steel Lard, but I think I now have this straight:
    • If the front rank fall back 2" or less, the rear rank can fall back with them if it wants (as per Excess Shock on p54 of the main rules): no loss of Formation or shieldwall, but your front rank is still the better troops, is still somewhat damaged and Shocked
    • If they fall back more than 2", as I see it:
      • they will (and clearly, in fact, must) interpenetrate the rear rank (see p39 of the main rules - "Troops retiring due to excess Shock will ignore some of these restrictions, see Withdrawing through Friendly Troops on page 55." I would assume this rule also applies to falling back for any other reason due to a combat result - the wording on p 55 is not entirely unambiguous.)
      • as a result (p 55) the rear rank takes one Shock per excess Shock that the front rank has (plus one Shock per quality level difference). Obviously, also, because the front rank has fallen back > 2" the Formation and shieldwall are broken
    Uff. It does make sense if you apply the rules in order, carefully. Comments very much appreciated on this one

    Thanks as ever to my loyal playtesters, Myk, AndyM, Rod and Carl!

    Tuesday, 12 November 2019

    Battle Report - 11-Nov-2019 - Dux Britanniarum

    Another test of the coastal raid scenario down the club; Wee Dougie and Colin took the British, defending the shore against the Saxons of Myk and Rod.

    The British have seen the Saxon ships and array to meet them (and also be annoying firing down at them from the promontory).
    We note with amusement that the British priest is clearly trying to draw in prospective worshippers by any means necessary, since his church is next to both a ruined Roman temple and a stone circle!
    The first of many stand-offs....
    ...as the British hearth guard come hurrying from inland and array (elites in the front, warriors in the rear) themselves in shieldwall to face....
    ...tthe Saxon Gedriht, struggling up the cliff path. Top centre, the other unit of Saxon warriors decide to avoid this scrap and head for the church. 
    Unfortunately, Rod and Myk as the Saxons have a really rubbish hand of cards, and the British is only a little better, so they spend a couple of turns trying to improve their hand (or in in-character terms, banging shields on spears and psyching themselves up). Note the Saxon warriors heading for the church centre right.

    Sound tactics is for the Saxons to get stuck in as soon as they can, as being charged by a shieldwall is NOT to their advantage....
    Unfortunately, the British get their act together first, with a handful of pretty decent cards... (Saxon looters top right thinking 'by Odin, we're better off out of that!'
    Back go the Saxons, and have just enough time to rally off a bunch of shock, still having no decent cards, when in go the British again!

    Unfortunately, I stopped taking photos here. One unit of Saxons was in the church and making markedly better looting rolls than I ever do. But the levy came down off the promontory (see top right of the above picture) after the other bunch of Saxons had decided to come reinforce their elites (top left), and skirted round the wood. Just in time for one group of Saxon Gedriht to run away, and the other to find itself right where they could charge it in the rear. With a Carpe Diem in hand.

    Now, for all levy aren't brilliant, when it's 2:1 in their favour, AND they're hitting on 3s, and then dealing shock on a 3+ and  killing on 5+, there's really only one way that fight is going to go...

    Even then it was still touch and go - if the Saxon lord had managed to get away from the fleeing Gedriht before they left the table, the looting warriors (who were ready to leave the church at a run with Bounding Move and Step Forth cards in hand) just might have made it to safety before the Saxon force morale ran out.

    An excellent game - thanks to Wee Dougie, Myk, Colin and Rod for helping me test it out!

    Tuesday, 5 November 2019

    Battle Report - 4-Nov-2019 - Dux Britanniarum "The Tax Collector"

    Another playtest, with Carl taking the Saxons against AndyM's British, with AndyH doing most of the umpiring and me being rules and scenario consultant, since I wrote the latter.
    The initial rolls produced a set of extreme start conditions (Saxons as many free moves as possible, British as far away as possible). We considered tweaking the scenario because we were pretty sure the Saxons would walk it, but figured we'd ride with it and see.

    So, here's the Saxon hearth guard, centre of the village, chasing after the tax collector and his escort of levies, while some Saxon warriors (centre right) swing round the edge of the village (why are British villages always next to marshes??).... 
    Next turn through the deck. British Leader 2 (Bad Squiddo's lovely Cartimandua figure in Roman armour) activates, but Carl plays a Step Forth to beat her to the punch. Rolls dreadfully and winds up 4" short.
    So it's the lady in hand-me-down lorica segmenta's turn. Andy plays Carpe Diem, Audacia (+2), Hero of the Age and Aggressive Charge. She is getting eight dice (level 2, + 2 for the Audacia, x 2 for Hero of the Age) and everyone's hitting on 3's.  
    Boom.
    5 kills to 2. Back go the Saxon warriors...
    ...just in time to walk splat into the British Lord, his champion and his Comitates ranked up with some warriors behind.

    Wallop.

    Squelch.

    Amphora definitely in danger of becoming absent for the Saxons there... although they did kill the British champion in the process, much to his Lord's chagrin.
    Next turn through the deck. The Saxon Lord activates from behind the flank of the poor lass's levy, with a Carpe Diem...
    Perhaps unsurprisingly, the levy lose (the Saxons had Aggressive Charge, so were hitting on 2's) 
    And yep, you guessed it, Amphora well and truly lost, fleeing for the British  friendly table edge. 
    Our heroine, however, who is clearly not one to walk away from a good ruck, activates to join the British Comitates before the end of the turn. Next turn, the whole lot of them waltz smack into the retreating Saxon warriors, who were trying to get away before their Amaphora went... And... well, they didn't, And it did. And their leader got killed.
    Neeeeeext up... the Saxon hearth guard come wading in to the fray, and wallop into the British Comitates, who's front rank has been taking all the damage...  
    It really boils down to who wins the big crunchy fight. And despite the British having our heroine in the scrap, the Saxon hearth guard are in much better shape, and the British dice are... frankly awful - 3 hits from 11 dice.
    The Saxons dice are not awful,. and the Comitates take enough shock to lose their amphora...

    What with leaders fleeing, being wounded and units losing their bottle. and everyone rolling badly on the Force Morale effect table, it's all looking a bit dicey.... (heh. Dicey. See what I did there?) 
    Last turn. Saxon Lord comes up, and there's this bunch of British Warriors and Levy which have already taken quite a bit of tap (in a fight I don't think I have a photo of).... 
    ....and oh dear, oh dear....

    The Saxons hold the field, and have all the time in the world to convince the tax collector of the rectitude of their current position...
    MAN that was fun. :D
    Related Posts Plugin for WordPress, Blogger...