One of the more obvious things we noted from running the Dambusters' Challenge at shows is by 'eck, it's popular!
While this is most gratifying and a Good Thing™, it does present a wee bit of a headache when it comes to keeping track of whose turn it is next. Time to implement a queueing system (as a software developer, this normally means something quite different to where we ended up!).
The plan was set in motion sometime around the last time we put the game out (2018, IIRC) when I bought 4 1/600 scale Lancs from Tumbling Dice. The aim was to mount them on flight stands and use a model of the area of the Möhnesee as a place to queue them up. And five years less a few months later we finally got round to it.
Stage 1: paint and base the Lancs. Job kindly done by AndyM.
Stage 2: build the terrain.
Take a handy spare 2' square of MDF (cut by my builders for me when the workshop/studio/office was rebuilt 5 years ago). Grid up a reconnaissance photo (from NCAP) and transfer it using the time-honoured square by square technique onto the MDF with a marker pen.

If you've never used Sculptamold before, I can thoroughly recommend it as a tool for building up terrain. It's basically an unholy mix of papier maché and plaster, mixes 3:1 with water and dries to the point where you can work it, paint it and layer it in about 15 mins. Brilliant, if messy stuff.
Additionally, if you want, I gather you can colour it, which with hindsight we might have done but in the end didn't do.
Then it was out with various shades of greys, and picking out all the fields and roads and water edges as per the recce photo I had for reference.
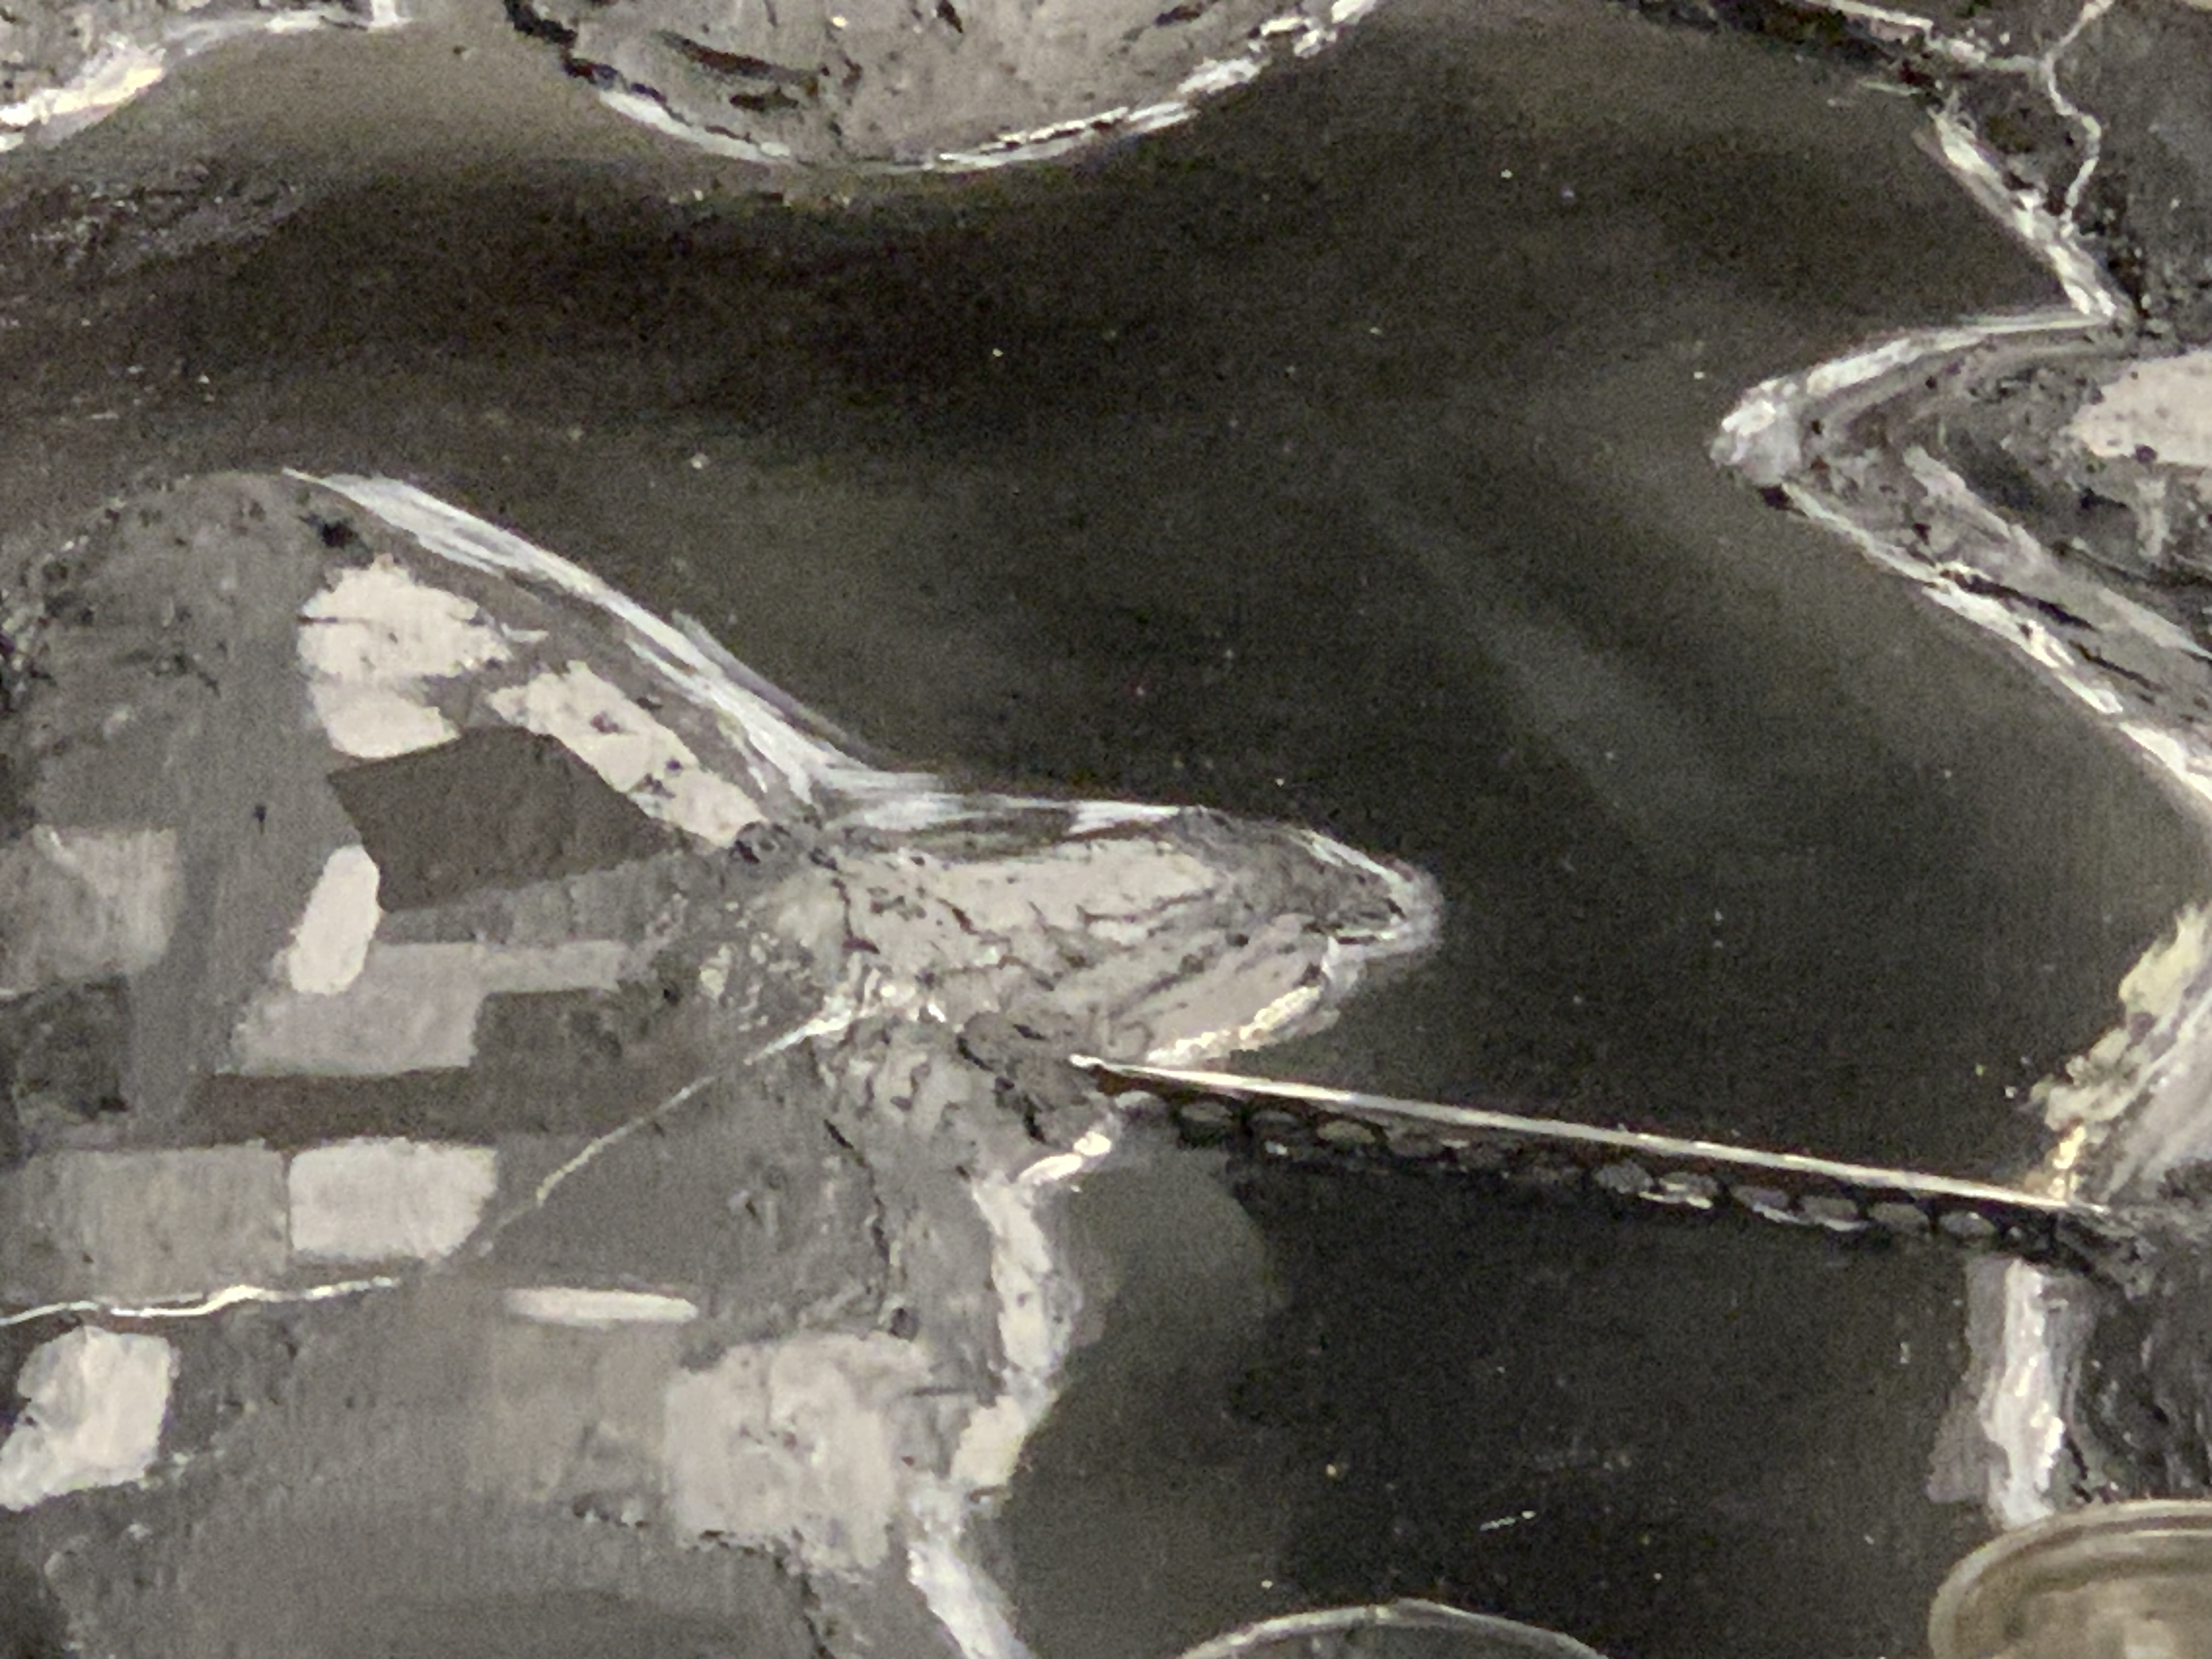
The one last step was putting in the two long bridges and the dam - I don't claim these are accurate representations of what was there, but at this point it's just a sketch. While trying to figure out what to make them from, I happened to go fishing in the big workshop trash box where everyone dumps their left-over sprues from plastic and MDF kits, and found two bits from a TT Combat kit that either Rob or Dan had been working on that could both be turned into long arched spans (edge on 3mm MDF). Brilliant. Bedded them in at both ends with a bit of quick setting filler, did a quick retouch once that had dried and bingo... out with the yacht varnish to make the water glossy, and done.
By now, Andy had delivered the planes, so it only remained to place a small dot of coloured paint on each base, and print off cards of each colour.
"Now serving RED! Next player please!"
 |
| Just before we added the coloured dots... |

No comments:
Post a Comment
Views and opinions expressed here are those of the commenter, not mine. I reserve the right to delete comments if I consider them unacceptable. Unfortunately due to persistent spam from one source, I've been forced to turn on captchas for comments.
Comments on posts older than 7 days will go into a moderation queue.