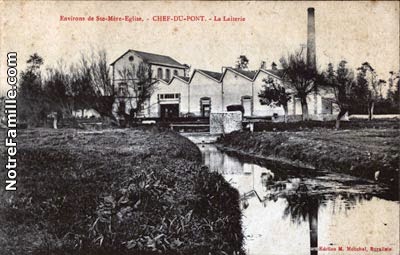
 As an aside - you'll also notice from the postcard picture a three storey white building to the left of the factory with an end round window. The postcard is pre-war, and the building appears to have been extended between that and the 8th June '44 aerial photo above. Current plans are to build this using one of Arcane Scenery's 15mm terrace houses. More importantly, though, in the postcard shot you get a good side view and roof profile of the factory, which shows off that it's rather oddly not uniform, the middle two sections being higher and wider.
Annoyingly, though, the photos skewed by perspective, but... we can fix that. Watch. (Note: I'm doing this on a Mac - as I don't use Windows at all (you can't pay me enough), I don't know what the best Windows alternatives are, sorry).
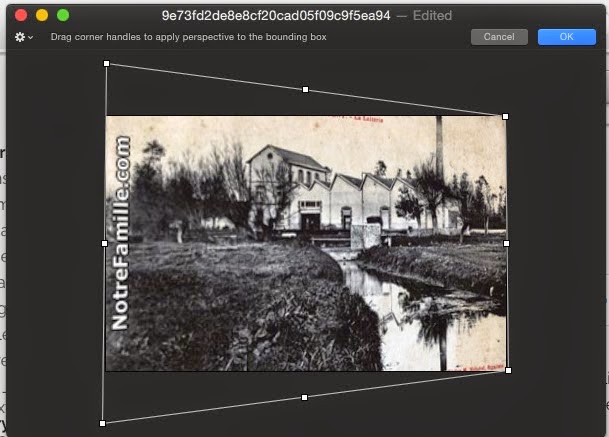 Stage one. Grab the photo into a suitable editing package. I'm using Pixelmator, which is sadly Mac-only, but there are equivalents.
Here I've pulled it into the Transform tool, which allows me to drag it around and distort it. Specifically, I'm going for the Perspective tool, which is rather infuriatingly hidden in Pixelmator under the menu that pops up when you click on the gear icon top left.
Here we've dragged one of the handles to undo the perspective of the picture: the trick is to try and get the ground and roof lines parallel as best you can. Fortunately the tool gives you feedback as you go.
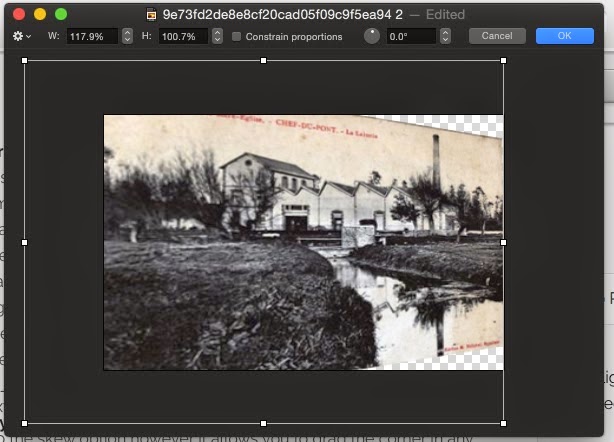
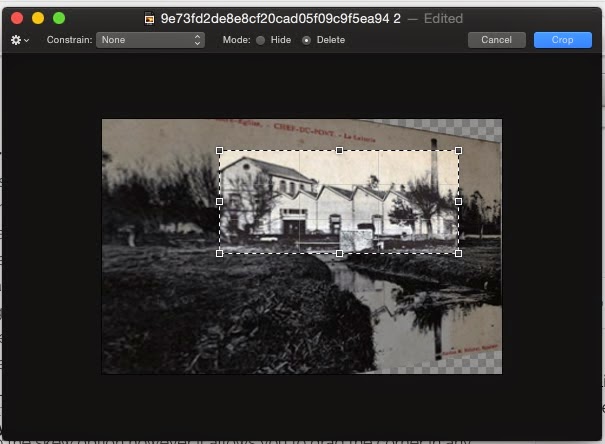 One of the side effects of doing this is that the 'de-perspectivising'-ing process (yes, that IS a word) does shorten things a bit in the horizontal direction. We therefore switch from the Perspective tool to the Free Transform tool and stretch things back horizontally until it looks right. (We could be more picky, but given the resolution of the photo, I think 'looks right' is going to be by fat and away the best plan.)
Last step in Pixelmator is to crop out just the bit we want from amid the rest of the clutter, which is pretty simple.
Now we save it, and there we have, at least as a first approximation, a side on view of the creamery.
The next tool I'm using is a vector draw program that will allow me to import images: you may actually be able to pull this off in something as simple as Powerpoint, but I'm using OmniGraffle (again, Mac only) as I happen to have a copy.
 (Another aside: OmniGraffle is brilliant for maps which I'll show you in a later post).
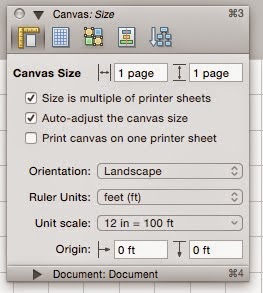
The aim here is to produce an outline of the sides of the building in 15mm scale. First off, then, we set up a scale and a grid for our document. 15mm is (as near as dammit) 1/100th scale, so lets set things up so 12" on the paper is 100' in 'real life' (or 1" == 100", or however it pleases you).
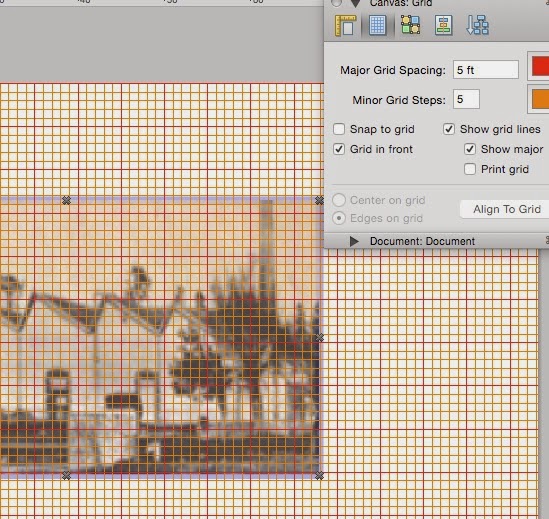
Next we paste our cropped and de-perspectivised (stop arguing, it's still a word: Because I Say So) image into the document, and set OmniGraffle up to display some grid lines. Be fairly aggressive in that you want to see the grid lines as a guide: I've basically set it up with a minor grid line every foot, bright red and orange and on top of everything else.
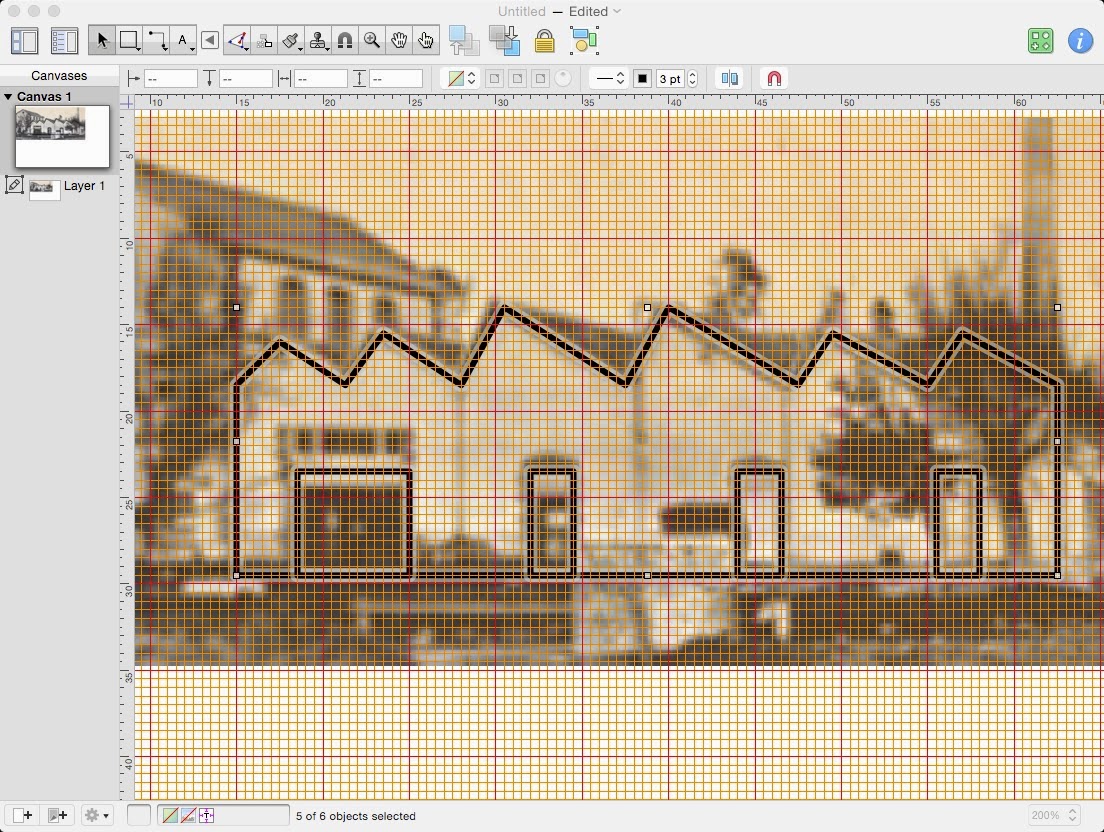 The grid is what you use as a guideline to scale your image - pick a feature that you can make a decent guess of the height of, or can measure from a map, a plan or another photo. If it's a normal building, doors are just over 6', for example - as this is a factory, I'm guessing they're a bit higher. With that and the grid as a helper, scale the image till one of your chosen features is the right size, and then send it to the back, set its opacity to about 50% so you can see to draw over it, and most important of all, lock it or make it part of the background (your program should give you one of these options) so it won't MOVE! :D (believe me, if you forget to do this you'll get very frustrated very fast)
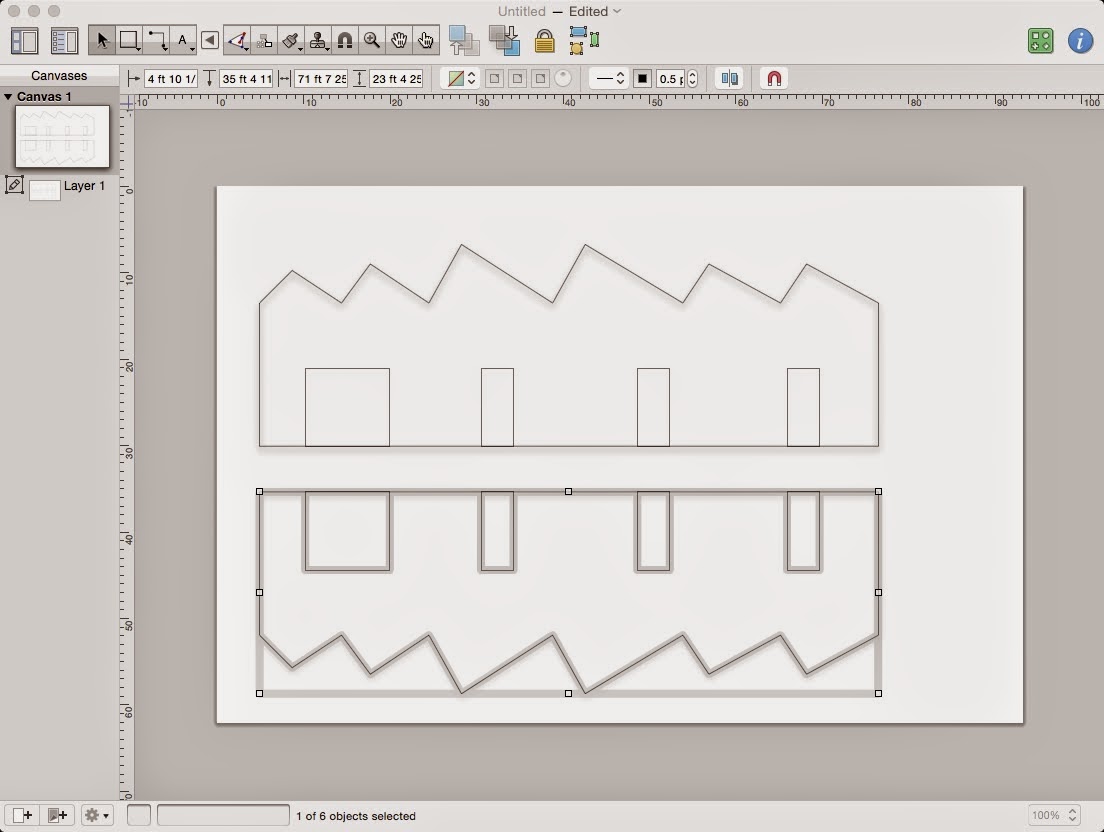 Finally, you can take a line drawing/polygon drawing tool, and trace the important outlines of your building. I've switched the grid above to 6" (scale) just to make it easier to line up bits of the roof. Once you're done, hide the grid and your image, duplicate your outline to make the other side, and print.... :D
Next time, I better nip out and buy some artists' board to make the damn thing :D


Quite a process! I'll watch this one with interest. (I also can't be paid enough to use Microscoff...)
ReplyDeleteRelevant free tools would probably be The Gimp (very good on reverse perspective mapping) and Inkscape (SVG editor good for tracing bitmap outlines).
ReplyDelete