Showing posts with label rocks. Show all posts

Tuesday, 11 June 2019

Beach boards 15 - almost done (and a plane or two)

Took a bit of time to gloss spray the beach boards again, and add missing shingle to the bay and promontory boards.

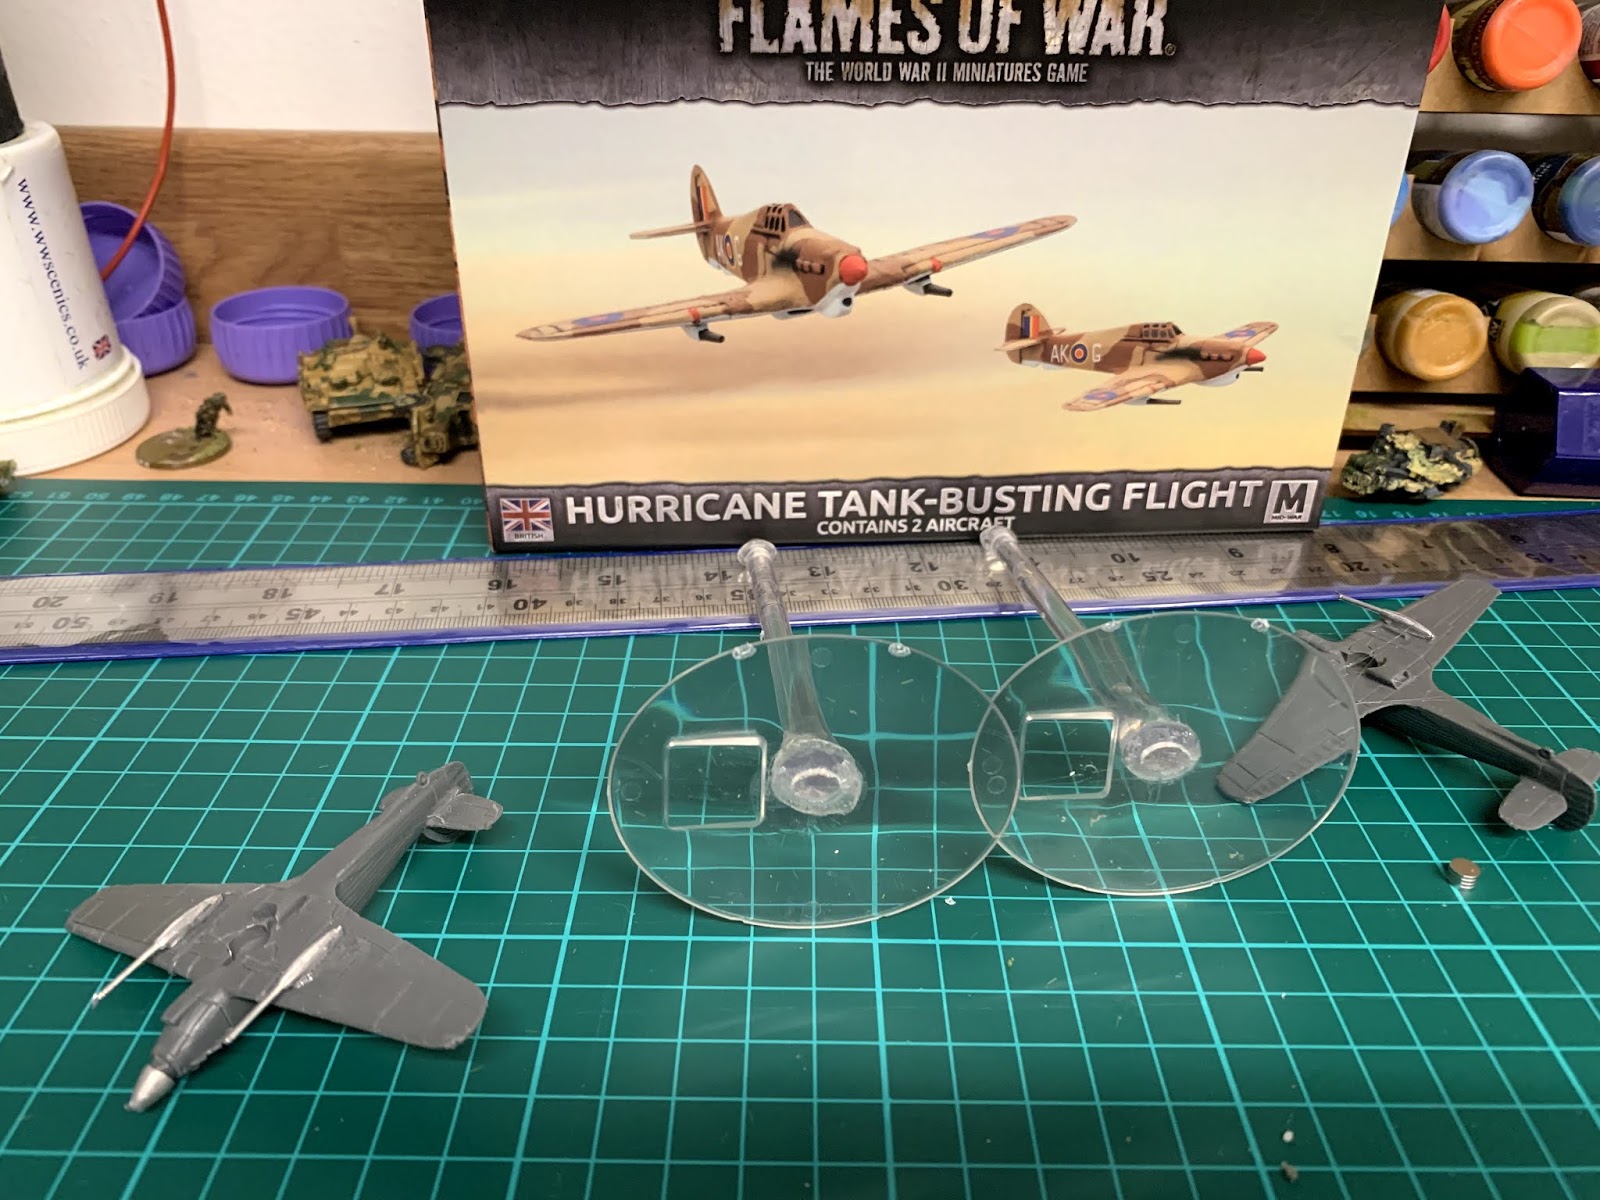
Also assembled two Flames of War Hurricanes for Italy air cover, except that I've dropped a white metal prop spinner on the floor and I can't find it. Grrrr.

Just got a little bit of drybrushing on the promontory, and the waves left to do on all the beach boards, which I have to do outside, and it is hosing it down at present, so that'll have to wait for another day.


Wednesday, 8 May 2019

Beach boards 13 - touchups and waves

A few things for the beach boards today - may as well tell it in pictures...
1) Dust off the loose grass from around the bay and promontory boards
2) Mask, and respray the water where it's scuffed
3) Waves/breaking water around the promontory. Any guesses how it's done?
4) Redo the other boards to match the sand colour of the cliff/dunes area.... 
...which means undercoat in Sandtex Bitter Chocolate, allow to dry and drybrush with cream acrylic.
Also going to be using the cream acrylic to drybrush the beach as well.

Sunday, 28 April 2019

Beach boards part 10 - time for grass

Back from Captain Marvel - heh. Fun movie.

Furballs! :D

Today I broke out the heavy duty grassing tools.... (and also found my original post on the beach boards)
WarWorld Scenics static applicator, some of their Autumn and Wild Meadow grass, their layering spray, and (out of shot) some diluted PVA and the last of my Javis summer grass. Which latter, annoyingly, wasn't enough to do the base layer on everything...
But I did get this done. Now to clean up the loose grass, touch up the water, add waves, fix the shingle and sand.... oh, and buy some more bulk 2mm grass that's a decent match for Javis Summer. And dump the shirt that has static grass clinging to it in the laundry :D

Saturday, 27 April 2019

Beach boards part 9 - ink wash

Plans changed - today was to be the trip to the cinema to see Captain Marvel so we're caught up, and can go see Avengers: Endgame, but Anne's feeling a bit iffy and James has a scheduled gaming session for 7, so that's been deferred till tomorrow.

Instead, I got stuck in on the beach boards. (In case you're wondering about the little board for the watchtower, it's sitting upside down having had its underside painted to try and remove the slight warp!)
Drybrushed the grey rocks with white. The idea behind this is mostly to give a pattern of light and dark - almost a contrast map - that the semi-transparent Vallejo ink wash can pick up. This was allowed to dry and then I started on the wash.
Also dry-brushed the Bitter Chocolate on the flat areas with a pale sand colour. Will probably redo all the sand on the beach as well before I'm done, to a mix of that pale sand and a yellow ochre.
The stack is my little tester piece, as I inked it first and it's pretty much dry. Hence, I can use it to demonstrate what's in store for the big cliff.

Dry/over-brushed the ink-washed areas with pale cream acrylic, and then added some Javis static grass. Rather pleased with that, I am :D Mayadd a couple of small grass and flower tufts.

Friday, 26 April 2019

Beach boards part 8 - and a little extra

AndyM dropped round late this afternoon, so we spent a couple of hours working on the next stage of the beach boards and adding to what I'd done over lunch.
An extra piece as a base for the Warbases watchtower.
...carefully sized to fit on top.
Starting texturing... My hands hurt by the time I'd done the whole promontory. 
And then out with various saw blades to cut in the limestone layers.
...while Andy shapes the stack.
Promontory and stack ready for undercoat.
Grey emulsion about 4:1:2 with PVA and water for the rocks...
 ....and Sandtex textured Bitter Chocolate for the areas that will be grassed eventually.
And the bay board as well.
Some spare 25mm blue foam and a foam board offcut, for a future project...
...for a diorama base for some of these....

Wednesday, 24 April 2019

Beach boards part 7 - some additions

Not much to account for - most of today's hobby activity was tidying and moving shelves in the studio, and gluing the railings to the watchtower.

But I did pop out into what I think is going to be called the workshop, where the beach boards are, and do a little carving and gluing, just to add a few different bits of rock around the base of the promontory. Also managed to snap the long blade I was using in the craft knife, so I'll need to pick up some spare blades or (given they're cheap) a new pack of knives. I'll probably do some more surface work when Andy's next here, and then possibly some careful application of a heat gun to smooth off some of the edges (this is a trick I picked up from Luke APS on YouTube).

The aim is to have the top flat, grassed but largely untextured in case I don't want to put anything on it, such that any building with a roughly 8' square or maybe 10" near-circular terrain base will sit flat on it. This allows me to (for example) base the watchtower on a terrain cameo that lifts it another 2" up, or create a base for part of the club's Warlord Atlantik Wall set.
Obviously not the final base, but you get the idea.
The little stack isn't glued down (or shaped yet), as it'll get in the way of texturing the inside face.  
This face still to be hacked about.
Some exploratory carving done here.

Sunday, 21 April 2019

Beach boards 6 - more rock experiments

A happy Easter those of my friends who celebrate. Been a bit of a fragmented day today, largely due to two visits to church and sorting out a parental crisis (Mum's Kindle - 7 years old - died, and she's pretty lost without stuff to read (has eyesight worse than mine, so the ability to essentially make any book large print is a huge win for her, and Amazon in their wisdom only have one Kindle with page turn buttons any more), so there was much sorting out of how to get her a new Kindle Oasis ASAP)...

I managed to pop in and out and do some more rock tests, and negotiate a free morning with the Domestic Goddess tomorrow to edit and post the podcast. Re the former...

Another spare bit of pink foam. This time I hacked it about a bit with a long-bladed craft knife.
Note: for this you really need XPS foam (extruded, not expanded) variously available in grey, pink and blue these days. The white expanded stuff used for packing won't take the detail. 
Texture applied with foil rollers as before.
And then hacked about a bit with the blunt serrated knife, then undercoated with an equal parts mix of mid grey emulsion, white acrylic, PVA and water. Slightly runnier, so it got into the cracks a bit better.
I can't remember *exaclty* what we have here, but I think it's (L-R in the seven bands):
- Dilute yellow ochre
- not sure
- Vallejo wash over dilute yellow ochre
- not sure
- rather lightly applied Vallejo wash
- AP Dark Tone
- Vallejo wash and a dry brush of pale cream acrylic

Yes, I should have taken notes.
I think on the whole, the first test from yesterday is the winner. maybe with a much gentler dry brush of pale cream.

Friday, 19 April 2019

Beach board 4 - experimenting with rocks

Only just got back from church band rehearsal after a busy day, so didn't really have time to edit the podcast as have to be off to parents early.

Did have time to do a little on the beach boards, specifically seeing if I can figure out a way to do the limestone rocks on a tester piece. This gallery is a combination of Mal the Terrain Tutor and Ballan Parkway's methods - follow the captions.

Here's a left over piece of pink foam from the
promontory/bay build the other day.  If I could have been bothered I'd
have roughly carved the surface with a craft knife to be less flat, but
for the purposes of this test piece it doesn't matter.

And this is just a piece of freshly screwed up baking foil.
All you do is roll it, pressing quite hard, on the surface of the foam... 
And presto! instant texture.
Same again, but this is the lid from a Gü cheesecake pot,
so it's noticeably stiffer foil. This I more pressed than rolled,
almost using it as a stamp.
...and even more texture. If you just wanted some random
rock, this would do fine. However, I want limestone...
Ideally what I wanted was the double-toothed saw blade off
my previous Swiss Army knife, but in the absence of that, this
old kid's safety knife from our kitchen drawer will do
(with Anne's blessing! 
(Slight focus issue, sorry)
Just use it to gouge horizontal strata in the rock face. The reason for the wider,
blunter blade is it leaves wide gouges and it also tends to rip bits from
the edges, which makes it look less even.
Final stage for tonight, paint with some neutral coloured emulsion and
leave to dry, With hindsight I might recoat with a paint/water/PVA
mix to seal it even better. Yes, I know rocks aren't grey.

Related Posts Plugin for WordPress, Blogger...